

This post will explain epson connect printer setup. While setting up the Epson printer, some users frequently get stop working to sign up the Epson connect Printer Setup properly on their system. Thus, they will not be able to utilize it properly.
Often, if the setup file is missing out on or corrupted then the Epson Setup can not find a printer and as a result, the users may fail to access the functionality of the Epson printer.
Why Epson Connect Printer Setup Cannot Find Printer?
In this article, you can know about epson connect printer setup here are the details below;
For that reason, you require to make it possible for or download the Epson Connect for the Epson printer. Here we will offer a complete guide on Epson Connect Printer Setup
Process to Enable Epson Connect Printer Setup.
Listed below we are going to discuss in-depth actions to allow the Epson Connect for the Epson printer. So, follow and execute them to enable it quickly:
Prior to enabling it, the Epson printer needs to be established with the cordless network or Ethernet network. Also check alternatives to slack.
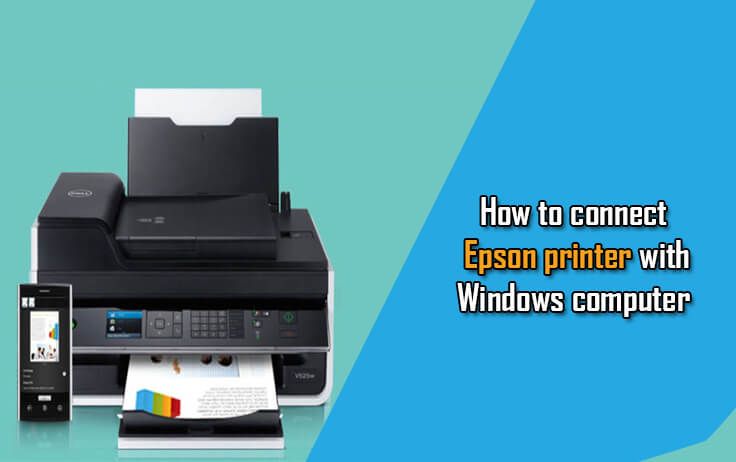
Epson Connect Printer Setup for Windows
If you are Windows users then follow these undermentioned actions:
Step 1
In the beginning, turn on the printer by pressing the Power button. After that, you will need to go to the official site of the Epson and download the Epson Connect Printer Setup Utility.
Step 2
After downloading this file, Run it effectively. Now the End-User License Agreement window will appear on the screen. Mark on the box beside the I accept the terms in the License Agreement button and then click on the Next.
Step 3
Click on the Install button and then click the Finish button. When the installation procedure is done, open the program.
Step 4
From the Epson Connect Setup window, select the Epson item from the Select a Printer section, and after that click the Next catch. In the Next window, agree on the Printer Registration button and after that click on the next option.
Step 5
Click on the Agree from the License agreement and personal privacy statement window and after that click on the Next alternative.
Step 6
When you see the Epson Connect Register message on the screen, then click on the OK alternative. In some cases, the “Register a printer to Epson Connect” message will appear on the screen. Also check mapbox alternatives.
Step 7
After doing this, Create An Epson Connect Account brand-new window will appear.
– If you are producing a new account then get in the details to the required field and then click the Finish button.
– If you are signing up a new printer then click on the I currently have an account option. Now you can see the Add a brand-new printer kind will appear. Fill the kind and after that click the Add button.
Step 8
When you are finished with these actions, click on the Close button. Now the Epson printer will be effectively signed up to the Epson Connect.
You can likewise refer to this short article by clicking on reset Epson Ink Cartridge. If you tried numerous techniques and still can’t reset Epson ink cartridge then you can apply these techniques to get the exact service and reset your Epson printer ink cartridge.
Epson Connect Printer Setup for Mac
If your Mac user then follows the steps offered listed below:
Step 1
First of all, you want to download the Epson Connect Printer Setup Utility from the official site of Epson. Once the file is downloaded, run it.
Step 2
Now, the Install Epson Connect Printer Setup window will occur on the screen. From that window, click on the Continue choice.
Step 3
Click the Agree from the Software License Agreement window and then click the Continue option.
Step 4
In the next window, click the Install alternative. Once the installation procedure is done, click the Close option and after that open the program.
Step 5
Because window, pick the Printer and after that click on the Next alternative. From the Next window, click the Printer Registration and then click the Next button.
Step 6
When the “Register a printer to Epson Connect” message will occur on the screen, click on the okay choice. Also check power bi alternatives.
Step 7
Scroll down the page and find the I accept the Terms and Conditions alternative, mark on it and after that click the Next choice.
Step 8
In the next window, if you wish to develop a new account on Epson Connect Printer Setup then fill the kind of the Connect Printer Setup account and then click the Finish button.
If you wish to sign up a brand-new printer then click the I currently have an account option. In that window, get in all the details on the Add once again printer type and after that click the Add button.
Step 9
After carrying out all these actions, click on the Close button. Now your Epson printer is signed up to the Epson Connect Printer Setup.
These were the actions following by which you should have the ability to register the Epson printer on the Epson Connect Setup Utility. Go through these steps thoroughly and do these on your computer to allow it.